Archives for October 2006
Stupid life getting in the way of my blogging….
Now, I am just blushing….
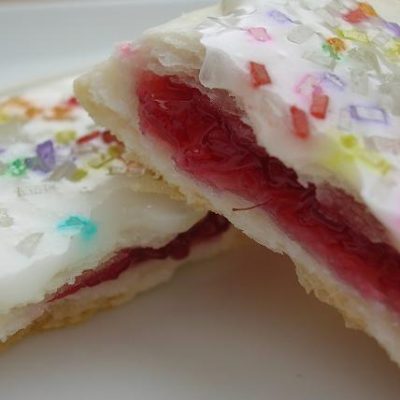
Pop Goes the World….SHF#24

Joining In
A Little Giddy
Hype-R

Pumpkins, good for more than just muffins….
Visual Effects
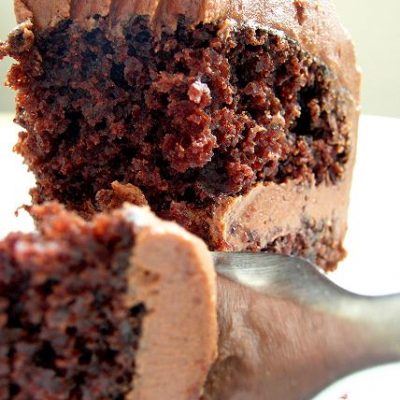
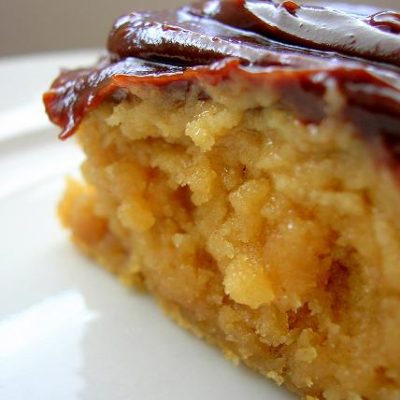
The Quest for My Aunt’s Mothers Chocolate Cake

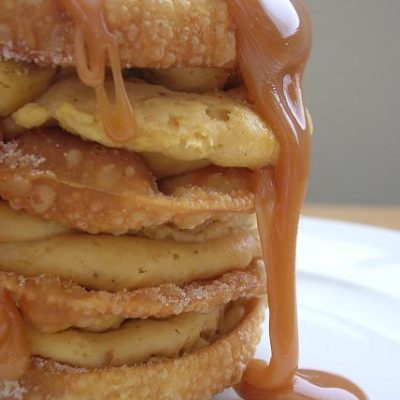
HHDD#6 F is for…..Fritter.
The Cake That Broke My Will
Working with the Unknown
Take Two…World Bread Day
Not So Perfect
Truly Inspirational
Hi-Ho,Hi-Ho, it’s off to bake I go….
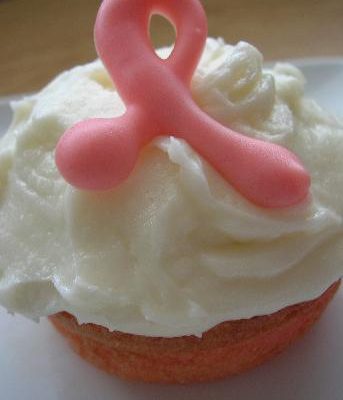
Think Pink
Life can be cruel…..