Archives for April 2007
What Lies Beneath….
Round Two….
Make your day better…with yeast…
Update
Pie with a side of strength…
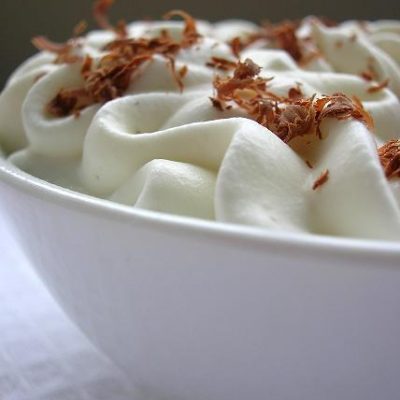
HHDD #11….mousse…and not the kind for your hair
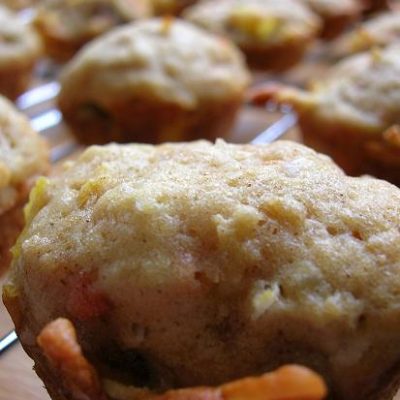
What’s the Story, Morning Glory?

Woof, Woof

Invasion of the Body Snatchers….
Hmmmmm…..
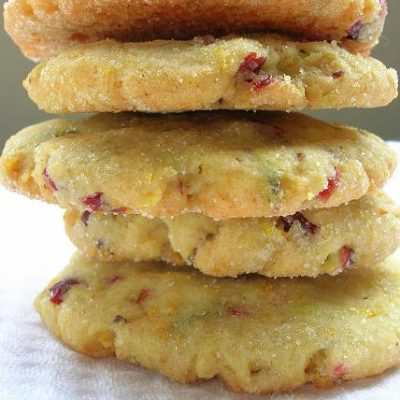
The cookie so good my mom had to tell me they were so good about 20 times…

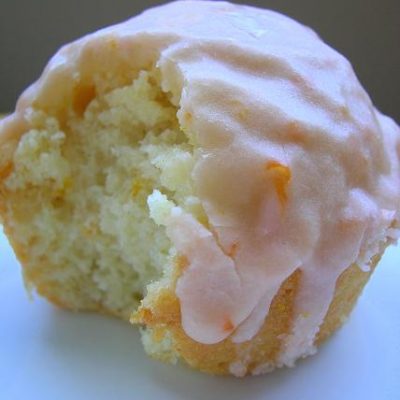
Pucker Up
Lurkers and Non-Lurkers Please Speak Up…