Archives for November 2007
Family “recipes”….
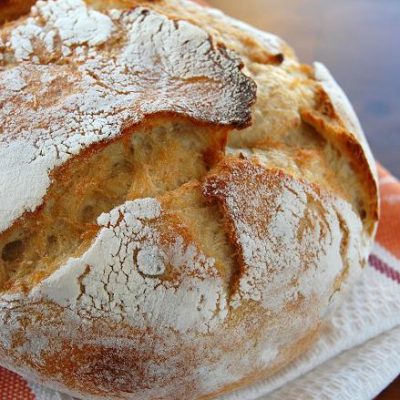
You say Potato, I say Daring Baker Challenge….
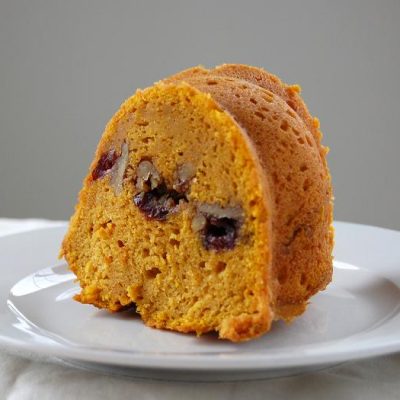
It’s the holiday season…
Gobble, Gobble….

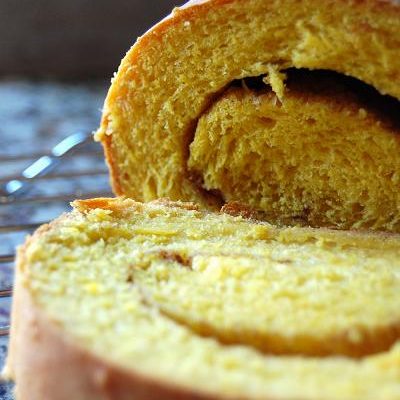
All twirly…
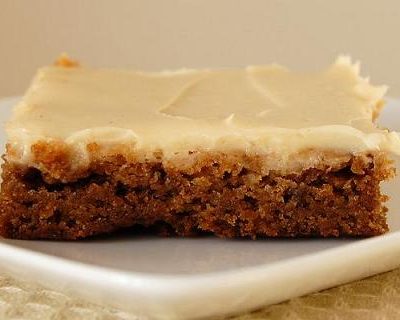
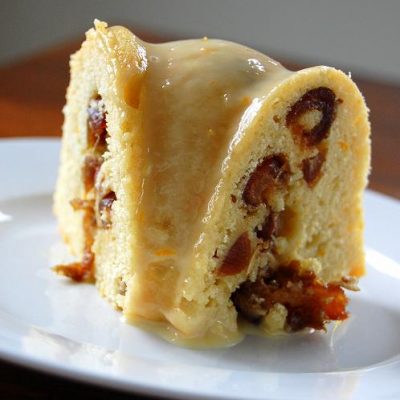
So not exciting…but tasty…

Home is where the heart is…
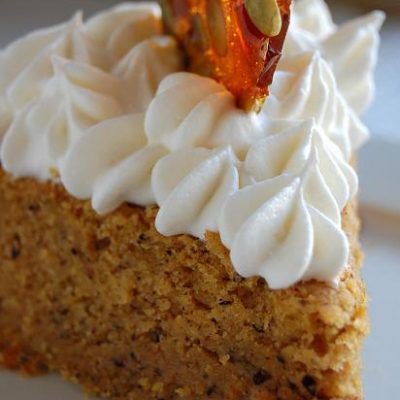
The clear alternative….
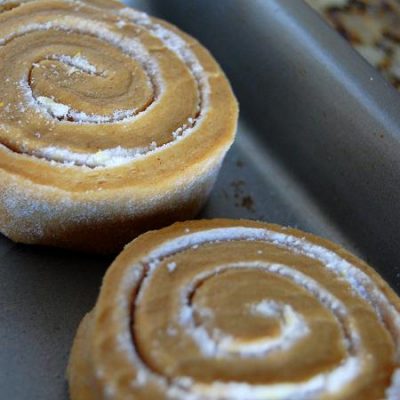
Giving gingerbread a roll….
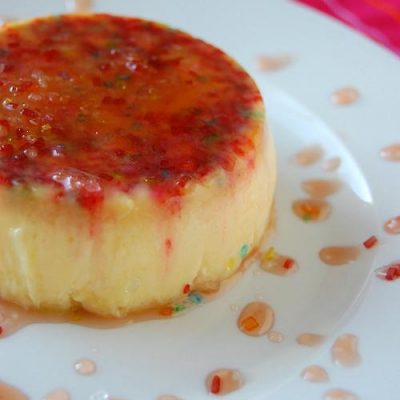
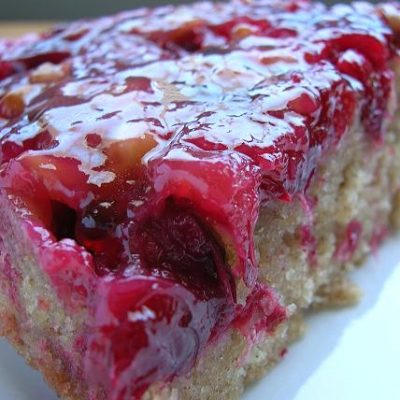
Girls Just Wanna Have Fun(Flan)….
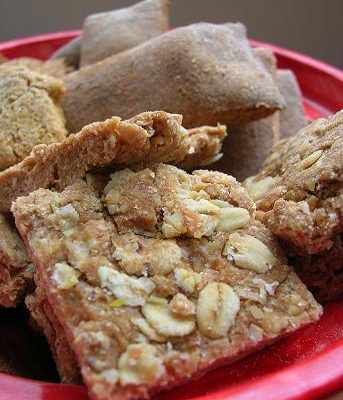
Peanut Butter and Oatmeal Dog Treats