Archives for January 2008
Zest for life….
Keeping the peace….
A little ray of sunshine….

It’s a girl!
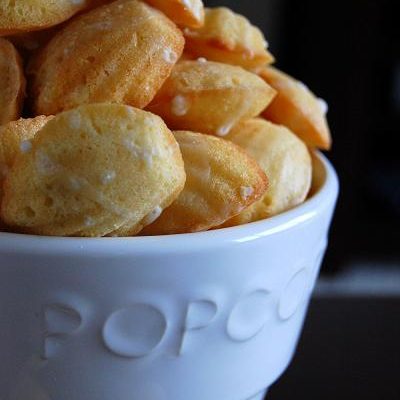
Betcha can’t eat just one….

It’s fry time…..
FYI
Great Finds…..
A little slow to catch on….
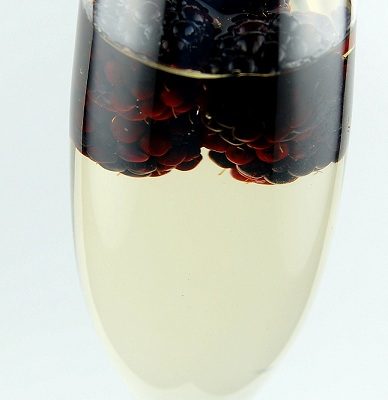
Cheers to life….
Father Knows Best…
Evil Treats from a Nice Person