Archives for March 2008
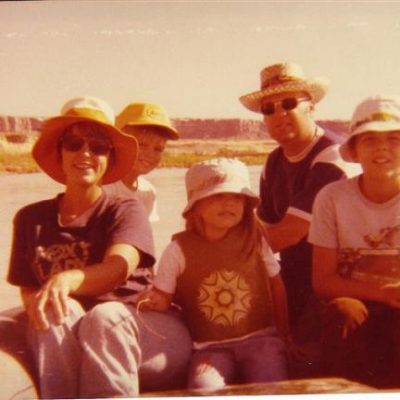
The day we almost died(or so my parents tell me)….

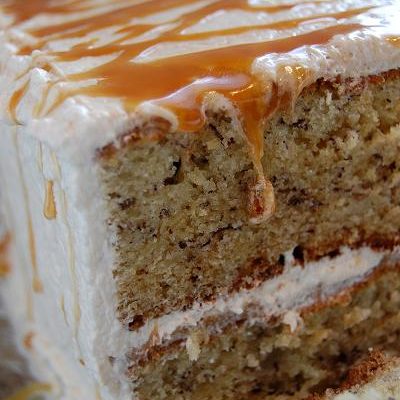
Tuesdays with Dorie….
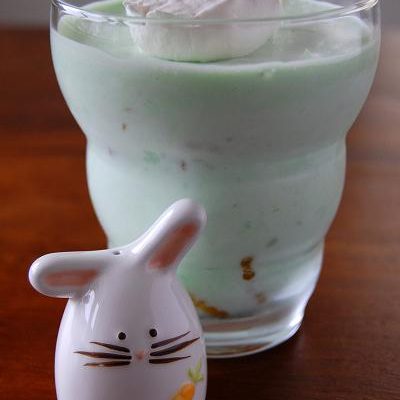
Lime Green Gelatin Salad Conspiracy….
Sweet Melissa Baking Book

Fear Factor….
Something I almost never do…
Kiss Me, I’m Scottish-Canadian…
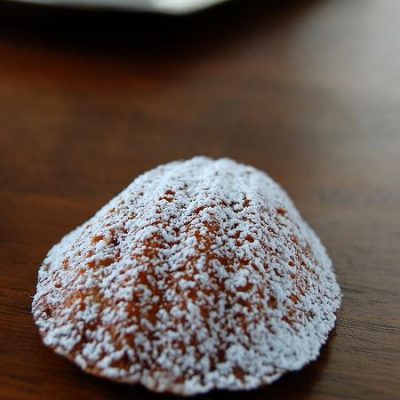
Tuesdays with Dorie….
The Cleaning Nazi….
Easy Peasy…
Been there, done that….