Archives for June 2008
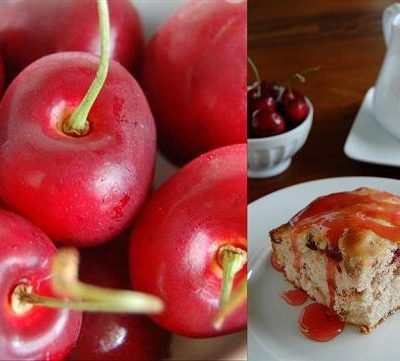
The first picture says it all….

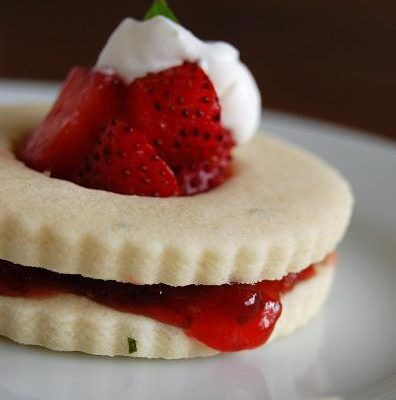
Red, White and Brulee…
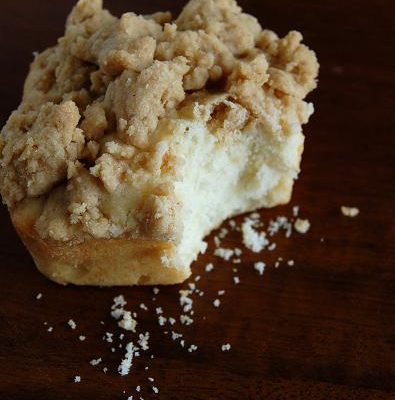
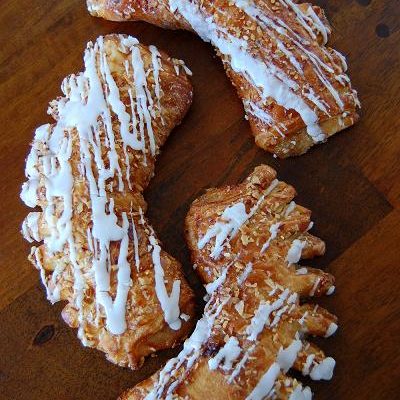
Feeling Crumb-y…
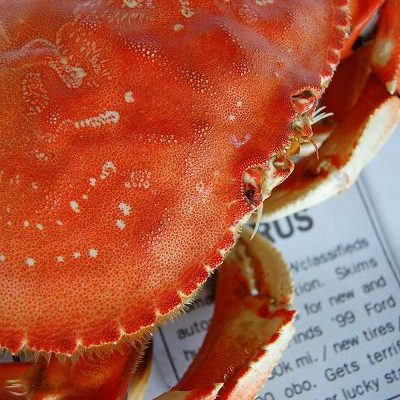
I live in a van down by the river….
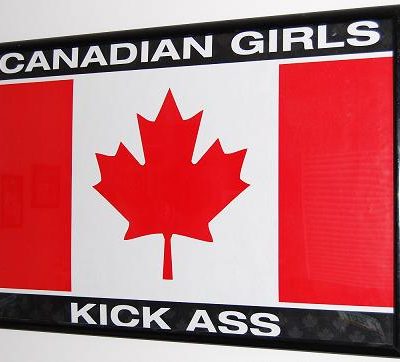
Don’t be haten’…
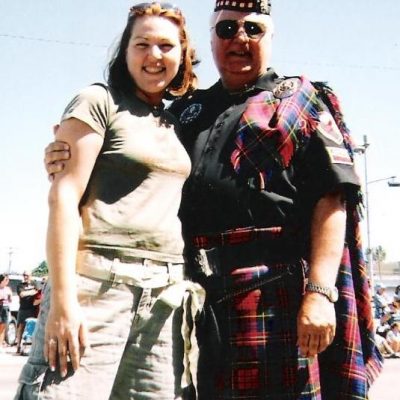
Real men wear kilts…
Clothing optional…
Three years ago today….
Inspired by….
All in a name…
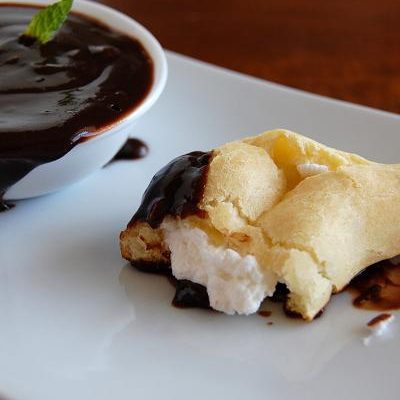
Come to the Dark Side….
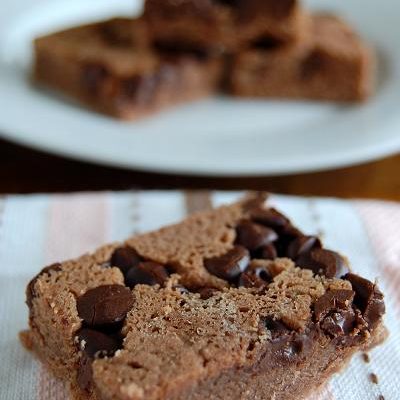
Not what I call a brownie….