Archives for March 2009
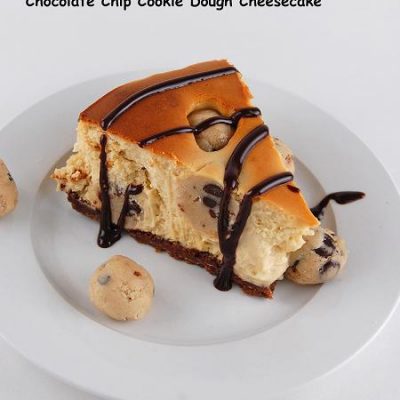
Come into the light…
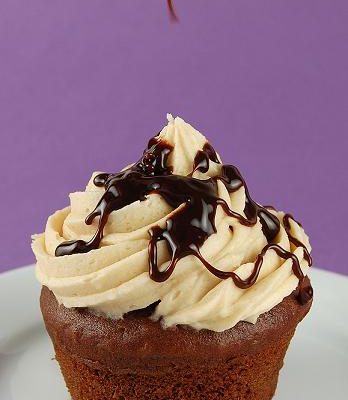
Peabody in the sky with diamonds…and pecans…
In a perfect world….
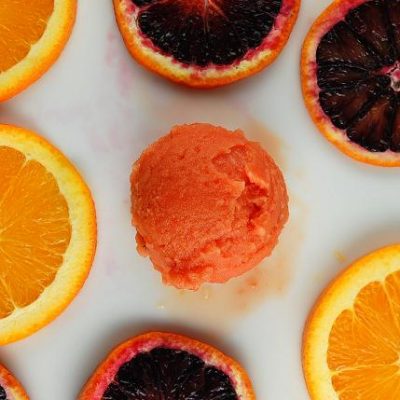
Wednesday, Bloody, Wednesday…

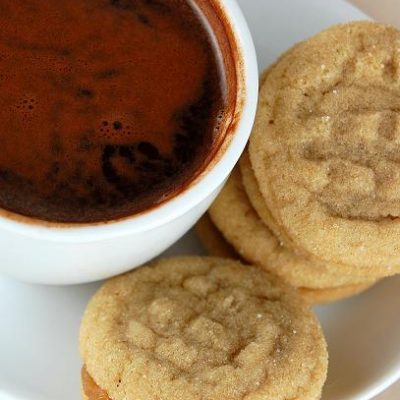
Still the one…

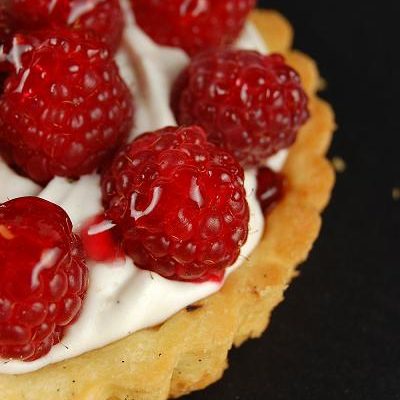
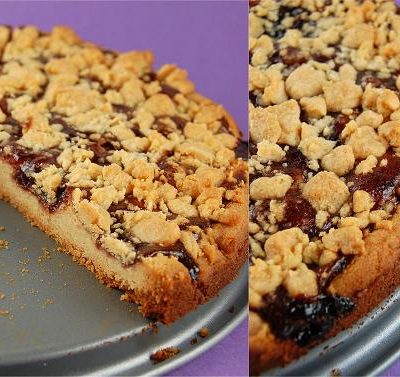
Happy Pi Day…
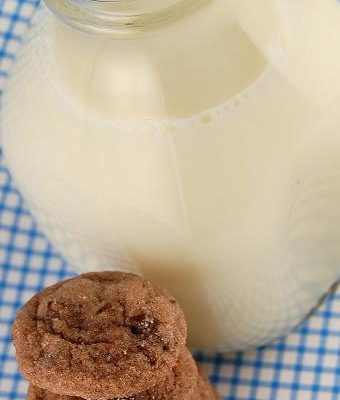
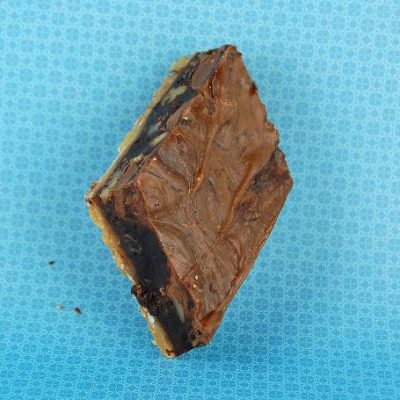
Milk and cookies make the world a better place…

Lose 7 pounds in two and a half days…

The Power of Pomegranate…
Recycle…