Archives for March 2011

Peep Show…
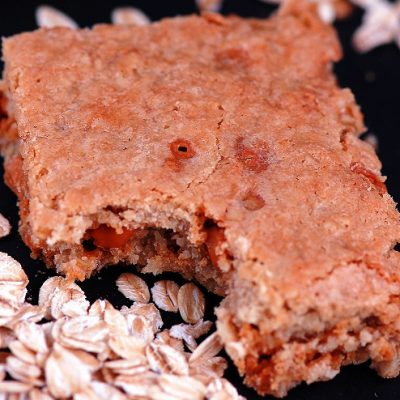
If you’re happy and you know it, eat a bar cookie…
In the defense of cupcakes…
I get by with a little help from my friends…
Beat This…

Pinch this….
You liked them at one time…
Poking fun at yourself…
I only run when being chased…
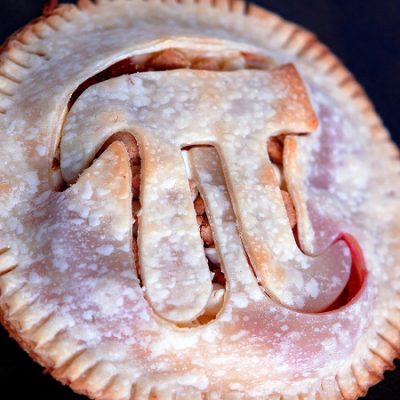
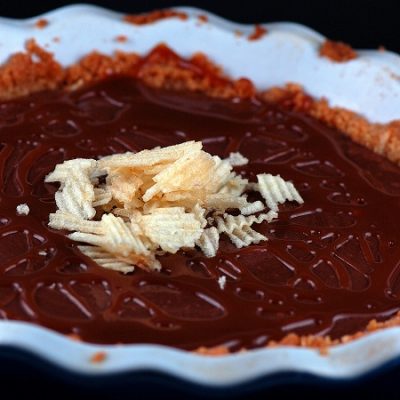
Humble pi….
Funk-y Town…
Ohana means family. Family means nobody gets left behind, or forgotten…
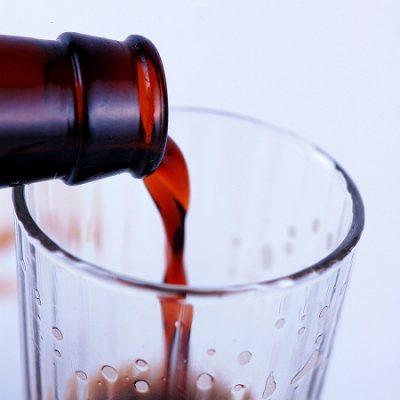
Late Night Snacking…
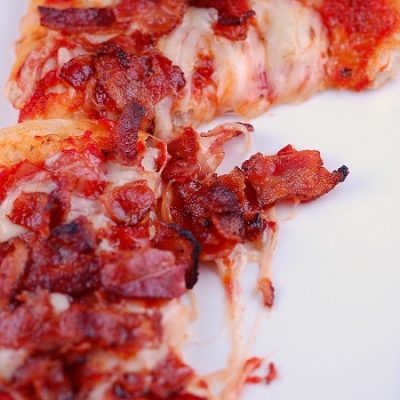
Za!….