Archives for August 2011
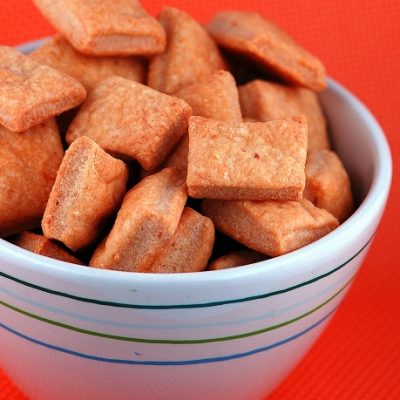
On top of my laundry all covered with cheese…
I’m one step away from afternoon Bingo…
Battle of the butter….

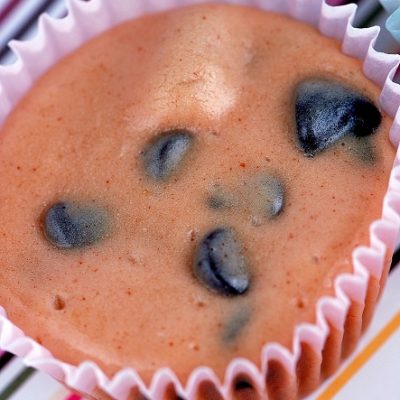
Way Back Wednesday…the Refund Muffin
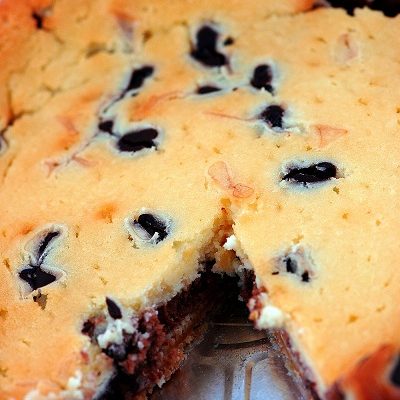
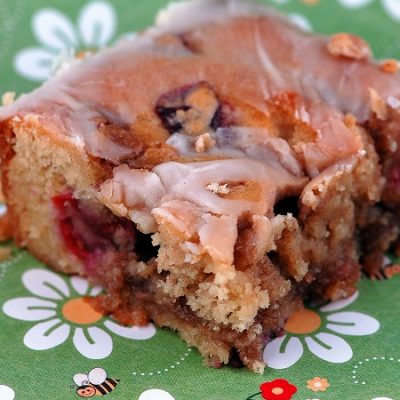
All cracked up….

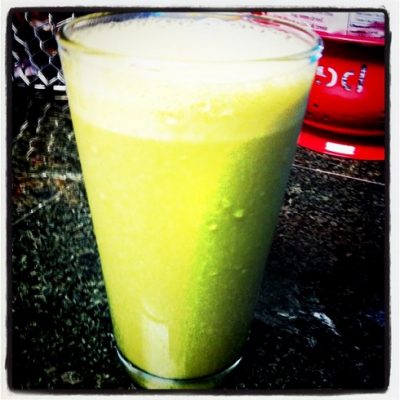
Start your day (or night)off right…
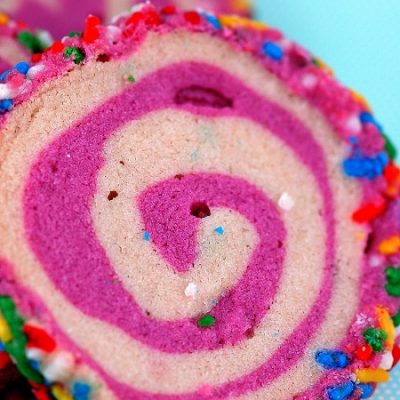
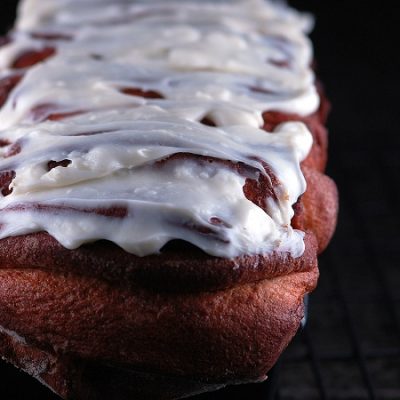
Rolling with it….
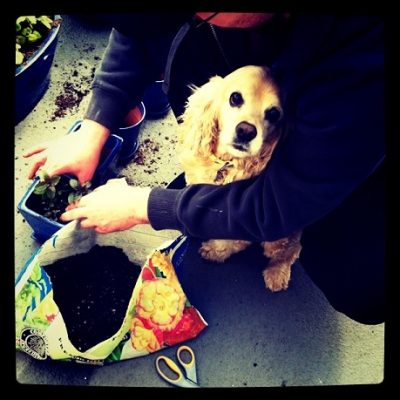
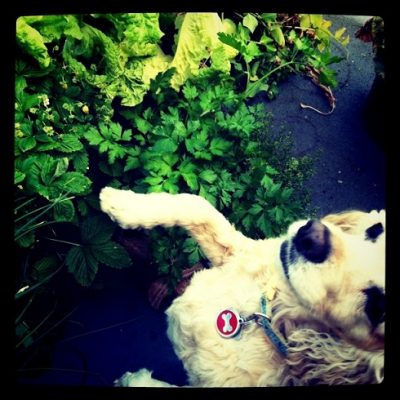
FurBaby Friday….
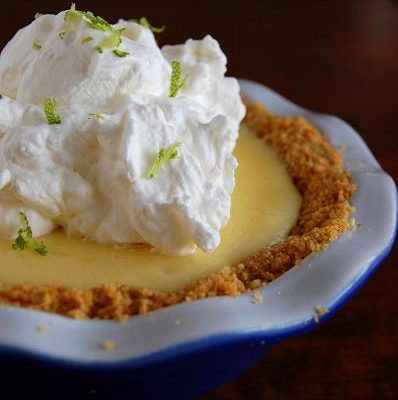
Way Back Wednesday….my favorite Key Lime Pie…
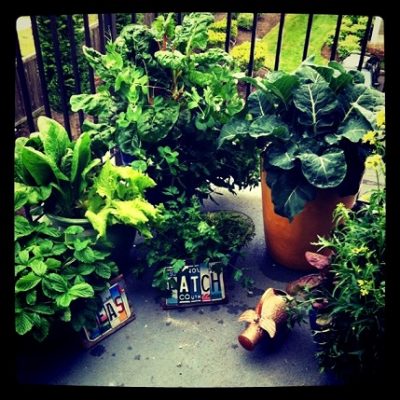
Contain this: VOTE!!!!
Everything falls apart….
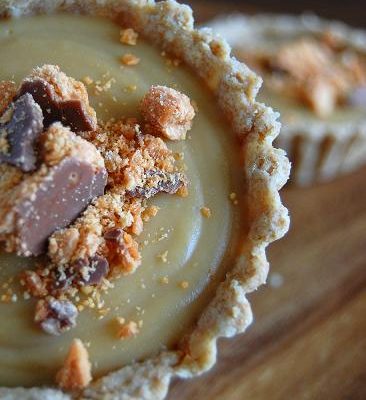
Peanut Butter Pie-ish for Mikey…
Closure…
Contain this: Celebrate!

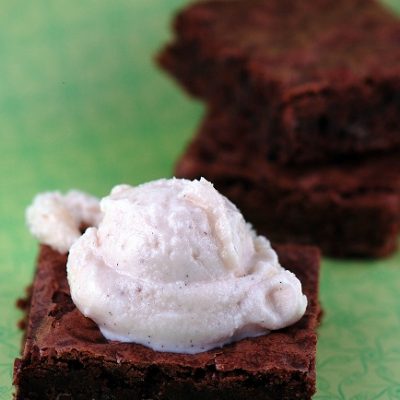
Sundae, yummy sundae…
Things that get used repeatedly in the Casa de Peabody…

Take me out to the ball game…
Way Back Wednesday…back to school…
What’s in it for you…