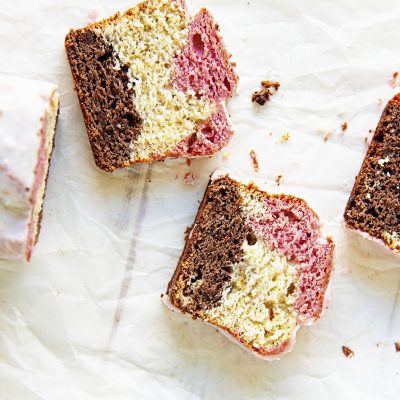
Neapolitan Banana Bread Recipe
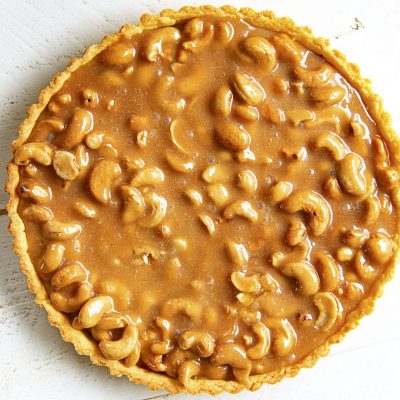
Baseball Nut Caramel Tart
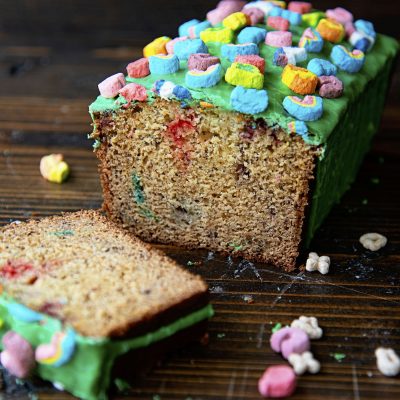
Lucky Charms Banana Bread
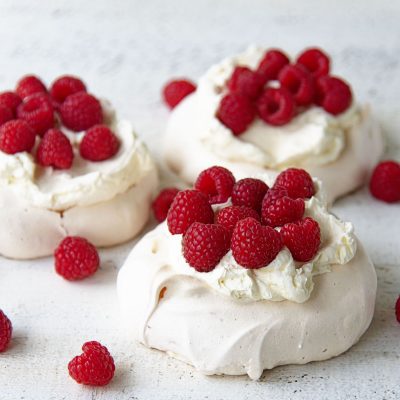
Raspberry Lemon Elderflower Pavlovas
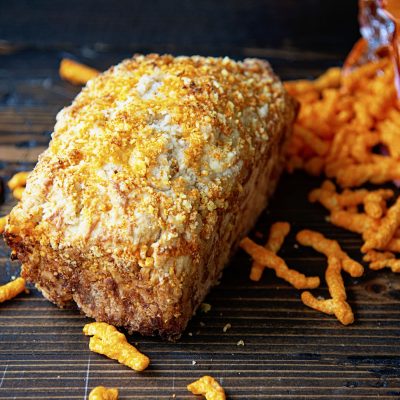
Cheetos Cheddar Beer Bread
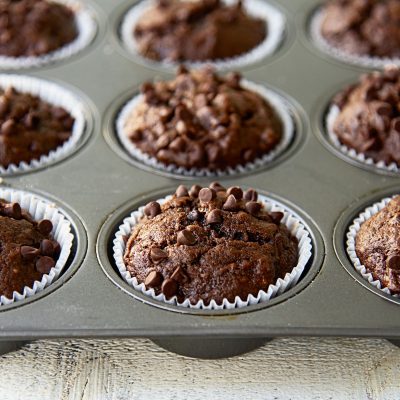
Double Chocolate Banana Muffins
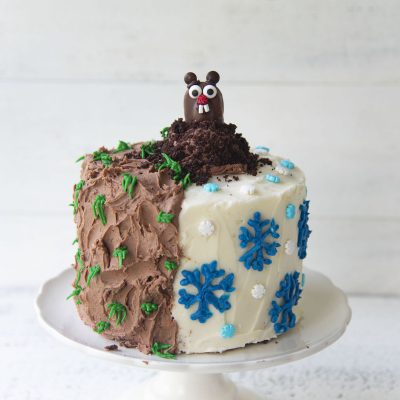
Groundhog Day Layer Cake

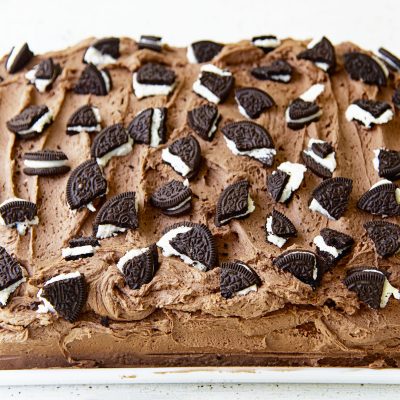
Dr. Pepper Chocolate Dump Cake
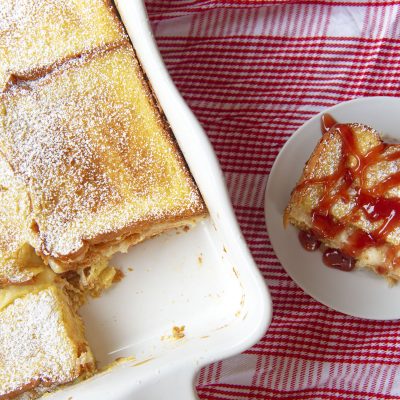
Vegetarian Monte Cristo Casserole
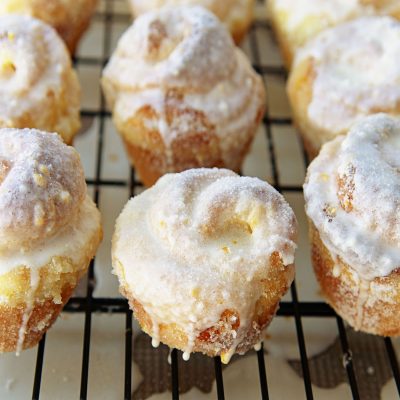
Mimosa Sugared Sweet Rolls
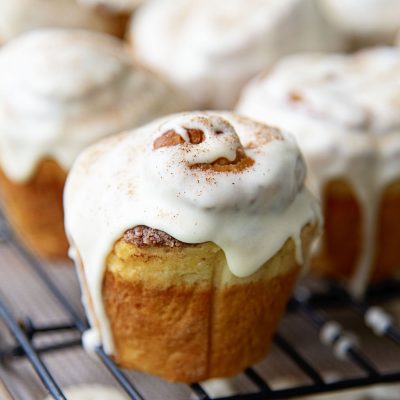
Bourbon Eggnog Breakfast Buns
Sugar Cookie Cracker Toffee

Gingerbread Shortbread Sandwich Cookies

Gingerbread White Chocolate Cupcakes

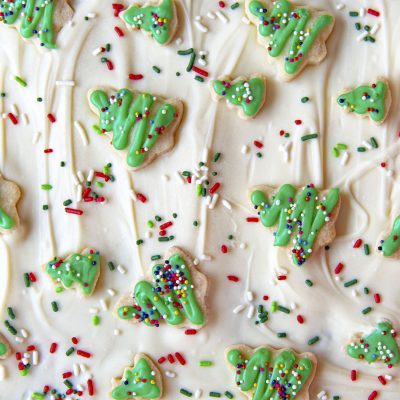
Christmas Tree Thumbprint Cookies
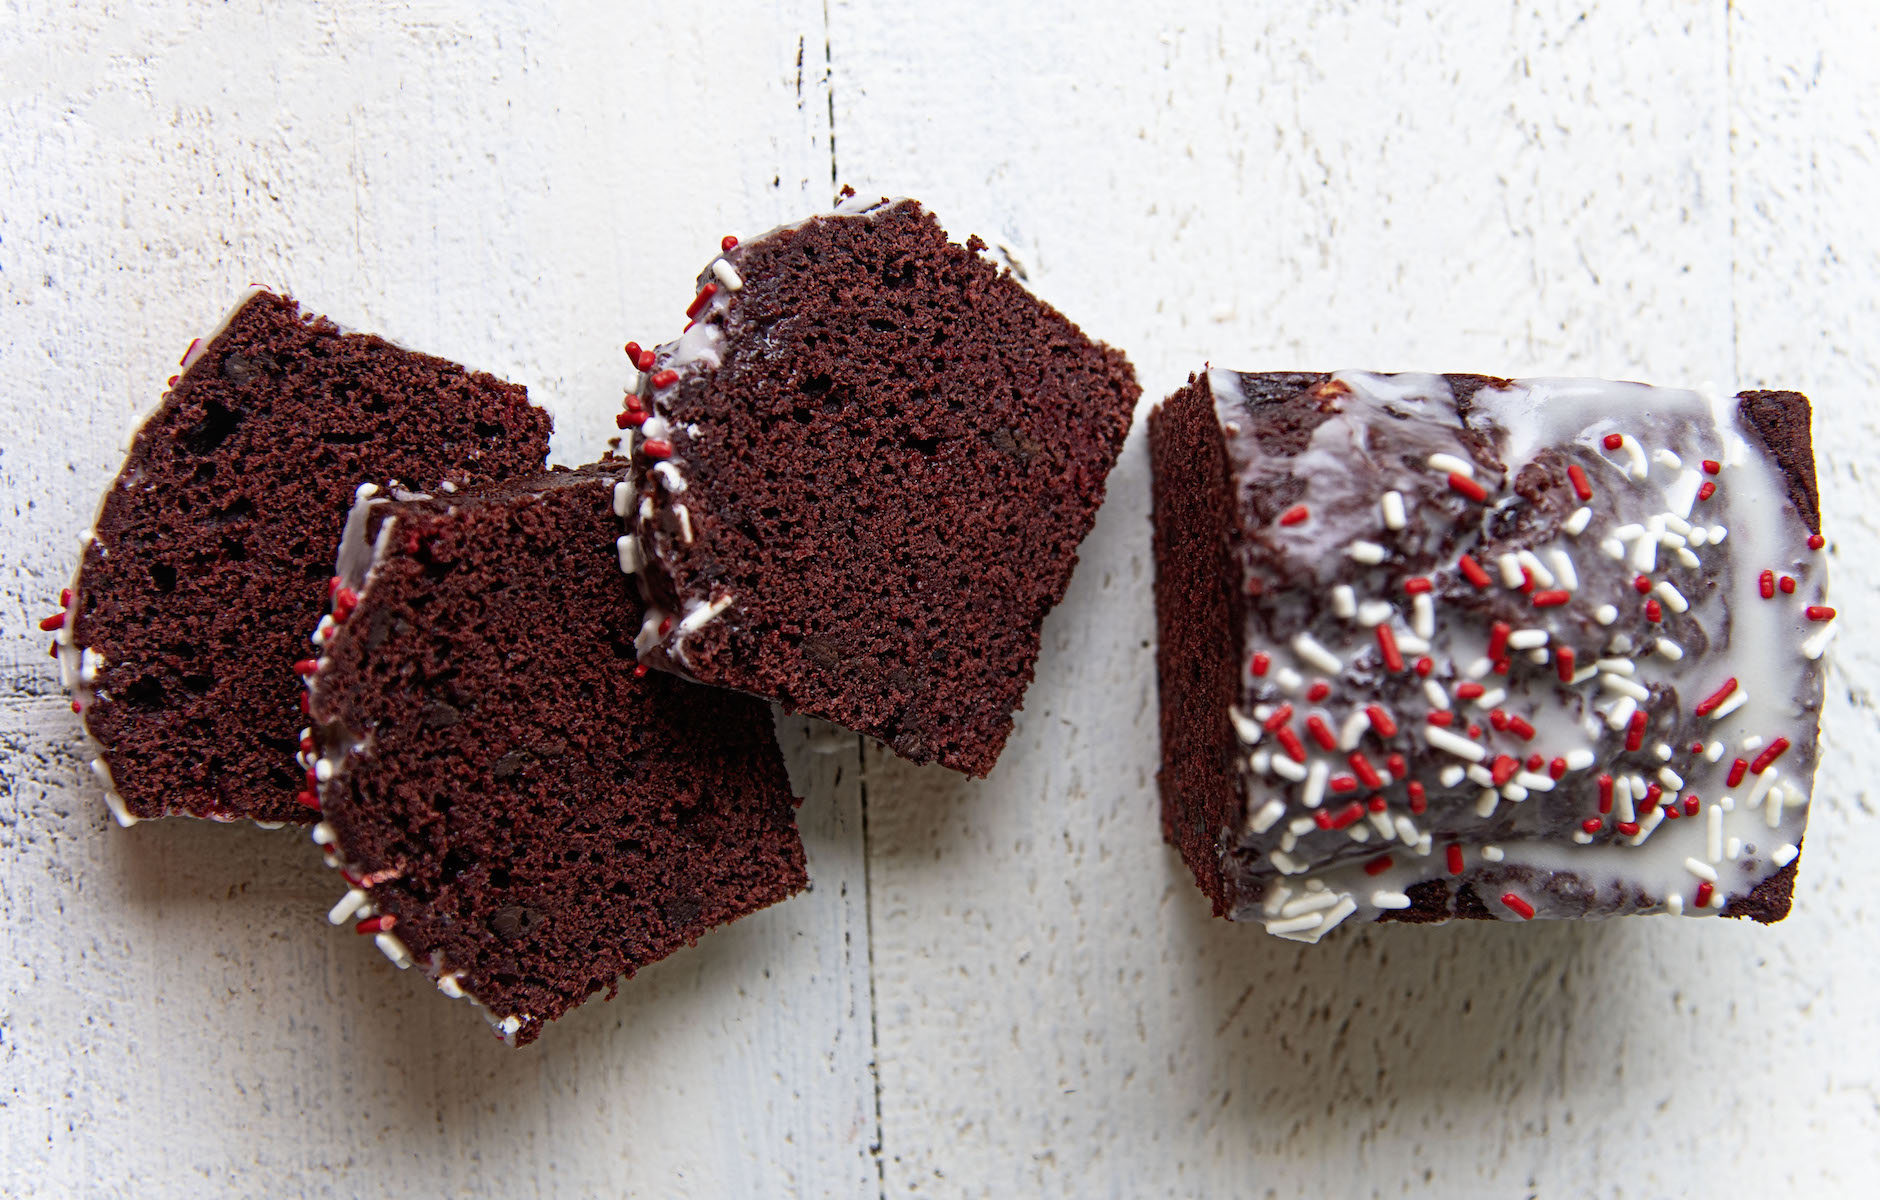
Peppermint Red Velvet Loaf Cake
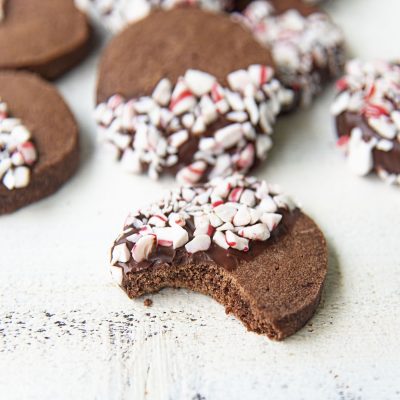
Peppermint Mocha Shortbread
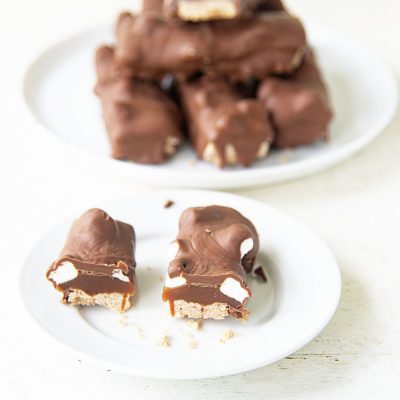
Hot Chocolate Millionaire Bars
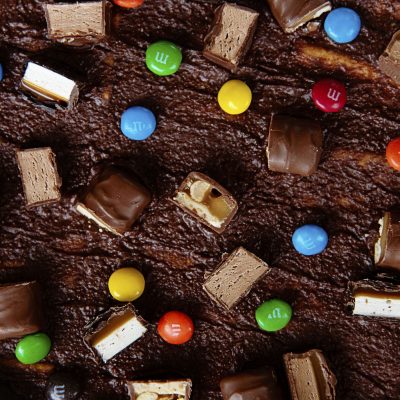
Hot Chocolate Nougat Brownies
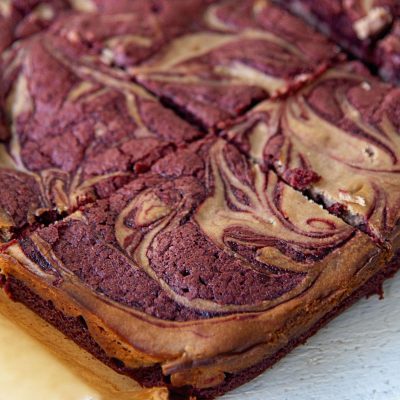
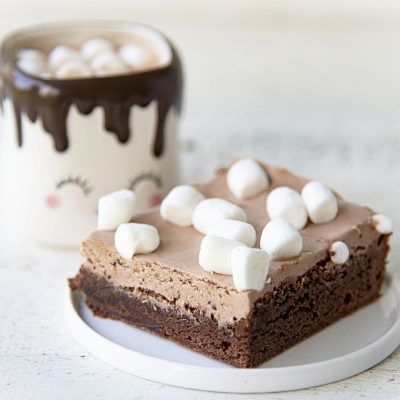
Red Velvet Hot Chocolate Brownies
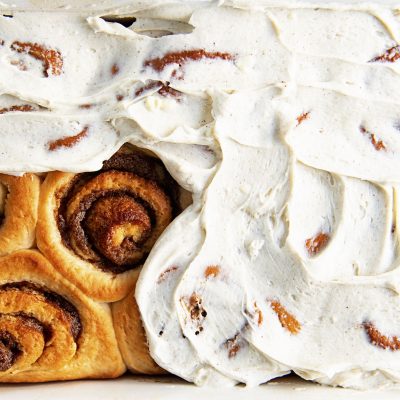
Vanilla Brulee Cinnamon Rolls
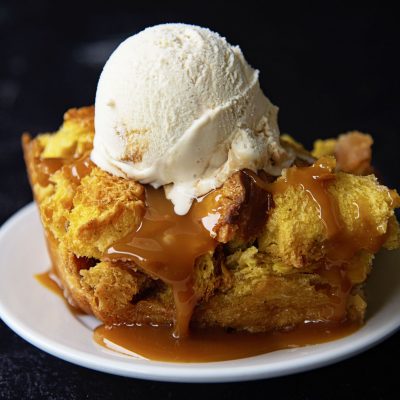
Pumpkin Salted Caramel Ice Cream Bread Pudding
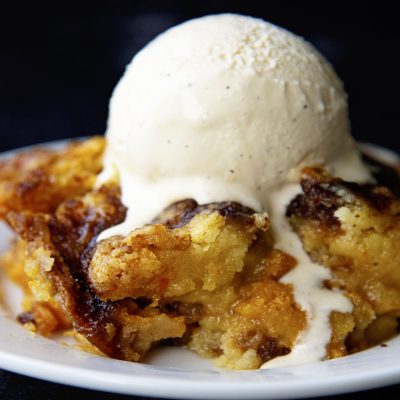
Cinnamon Roll Pumpkin Crunch Cake
Halloween Candy Cracker Toffee #HalloweenTreatsWeek
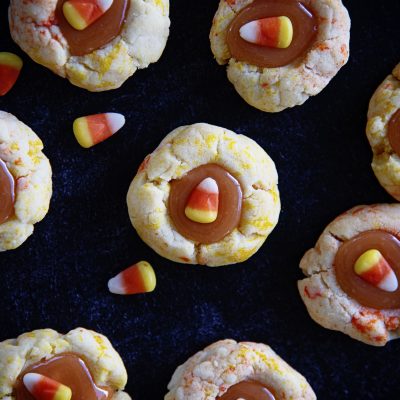
Candy Corn Caramel Thumbprint Cookies #HalloweenTreatsWeek

Caramel Apple Sandwich Cookies #HalloweenTreatsWeek

Haunted House Layer Cake #HalloweenTreatsWeek
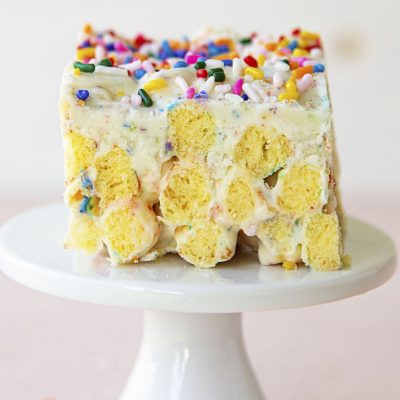
Funfetti Cereal Marshmallow Bars
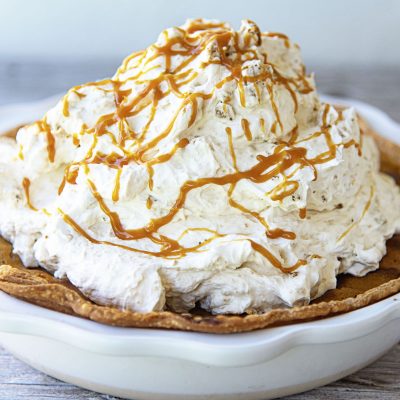
Gingersnap Cream Cheese Pumpkin Pie
- « Previous Page
- 1
- 2
- 3
- 4
- 5
- …
- 39
- Next Page »