

Chocolate Spider Cheesecake Cheeseball #HalloweenTreatsWeek

Candy Corn Layer Cake #HalloweenTreatsWeek

Butterscotch Swedish Visiting Cake Bars

Strawberry Lemonade Lemon Bars #SummerDessertWeek
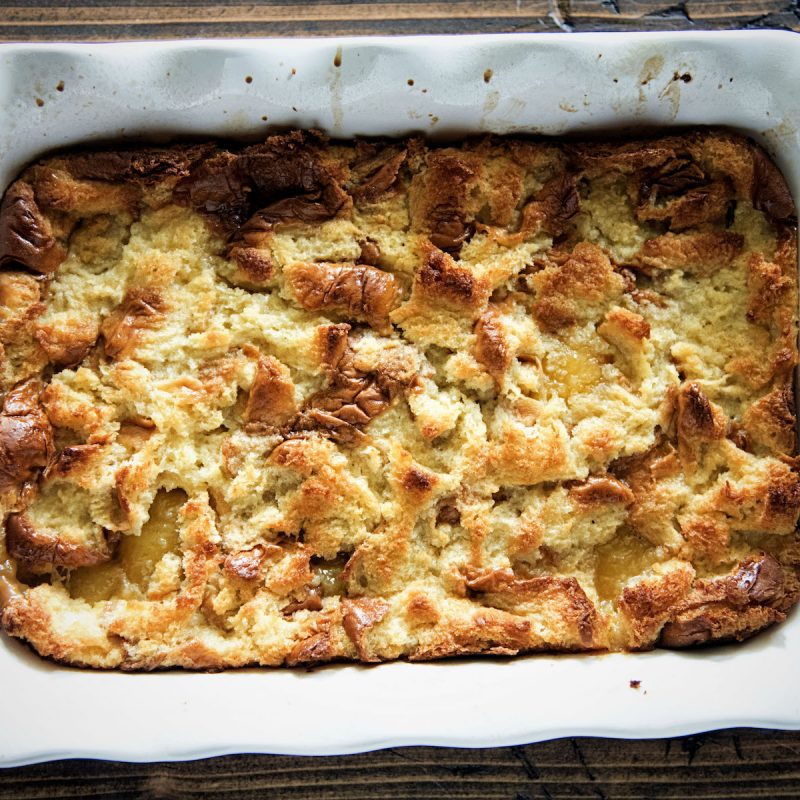
Sweet Tea Bread Pudding for #SummerDessertWeek

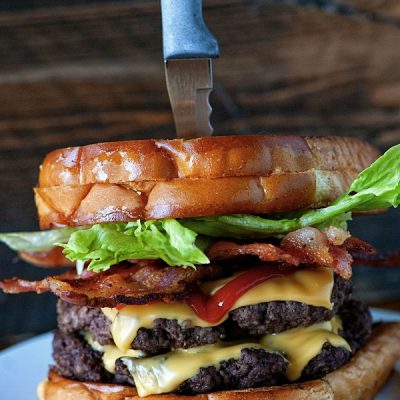
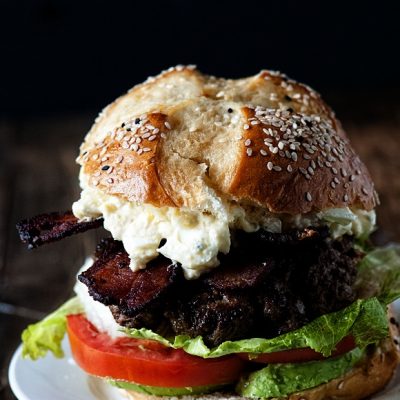
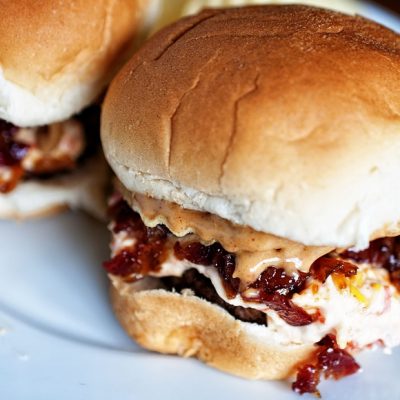
Burger Month

#EasterSweetsWeek

Me So Corny…#SummerDessertWeek

I Found My Thrill…#SummerDessertWeek

Ghetto Superstar
Double Trouble

Booze On The Shelf
Salad Alternative
Jam On It
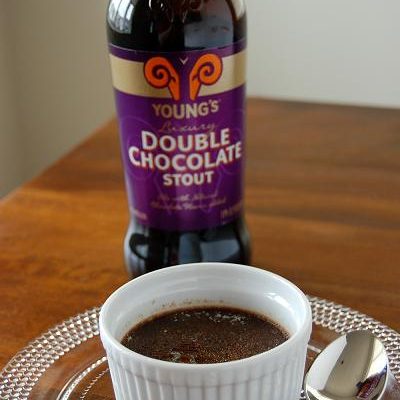
Ultimate Black and Tan
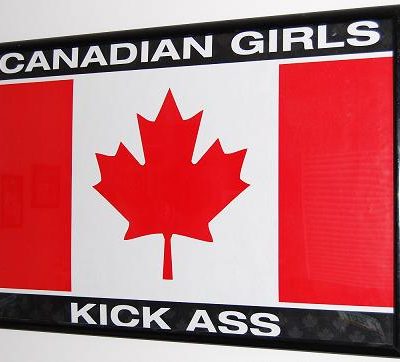
“Hello Canada, and hockey fans…

Hugs….
The Miseducation of Peabody…
The first picture says it all….
Back on a sugar high….
Enjoy the now….
Cutting out the middle man…
Tuesdays with Dorie….
Fear Factor….
Kiss Me, I’m Scottish-Canadian…
Been there, done that….
Tuesdays with Dorie….
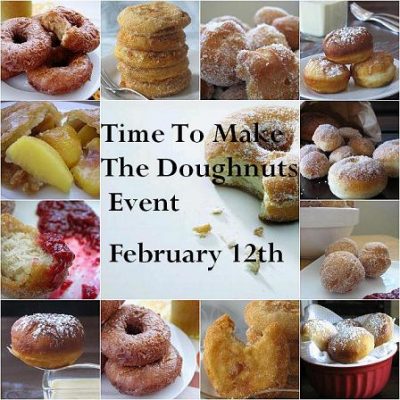
Time to Make the Doughnuts….
