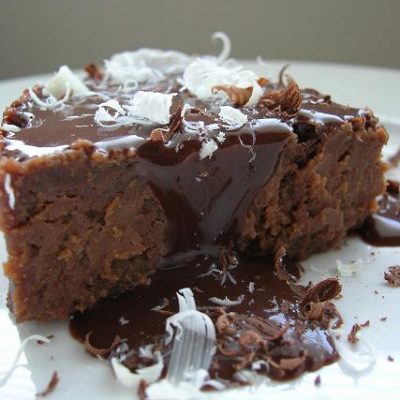
Tuesdays With Dorie….
Death By Chocolate….

It’s a girl!
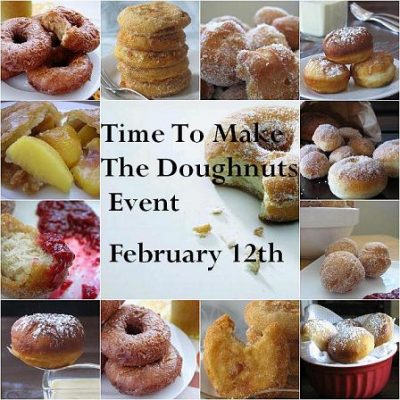
It’s fry time…..
Best of 2007
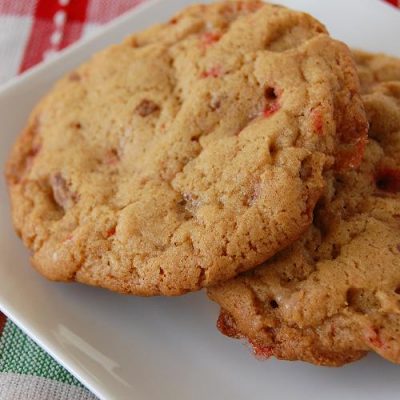
Make Christmas Cookies…then eat them…

Come On In…..

Reminder!
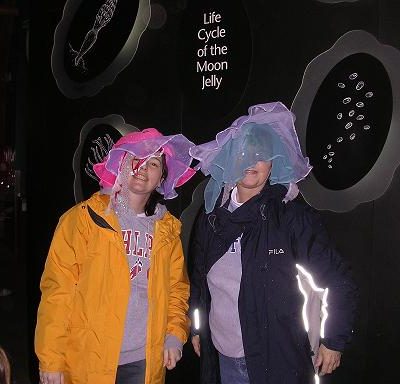
Traveling Eggs make it to the Pacific Northwest….
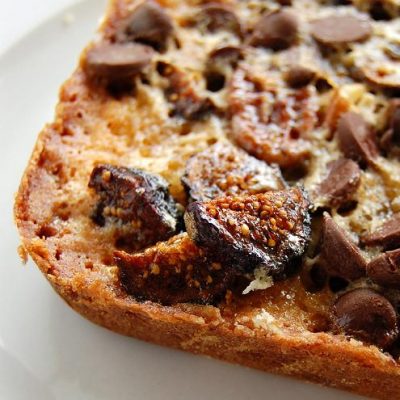
Gettin’ Figgy With It…. SHF #35
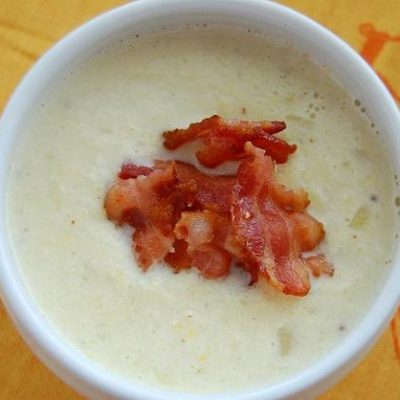
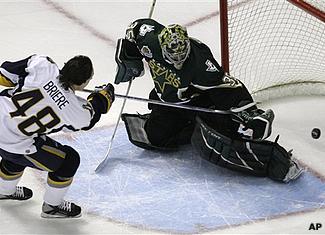
Under Pressure….
Not being fresh….
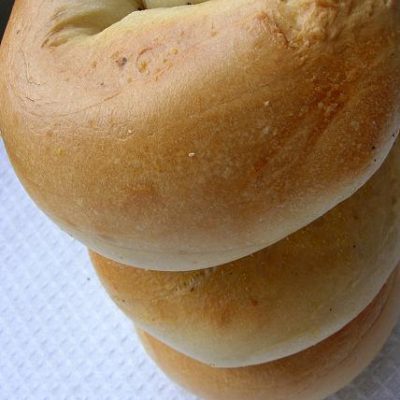
Bagelmania
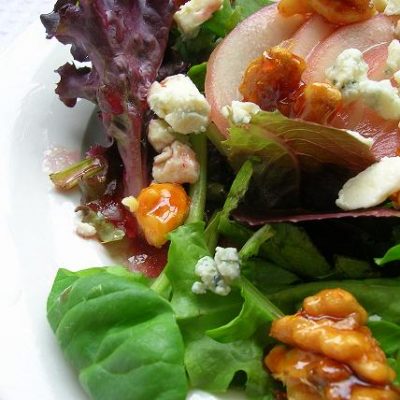
It’s not easy being greens….
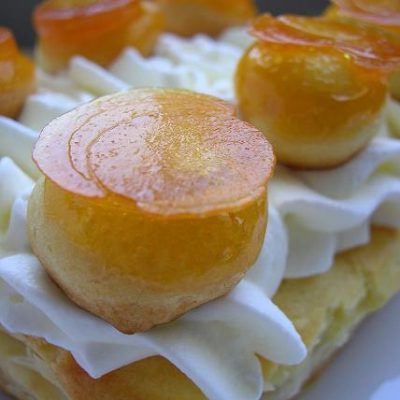
“Honore” thy fellow bakers…..
One more time…because it’s really important
What Lies Beneath….
Update
Pie with a side of strength…
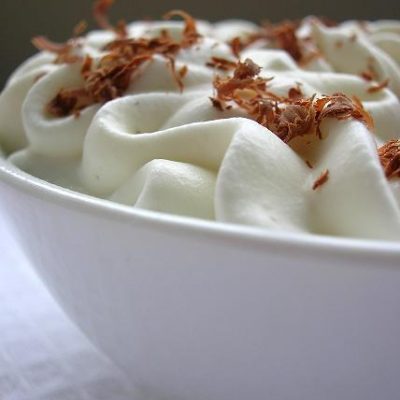
HHDD #11….mousse…and not the kind for your hair
And the winner is….
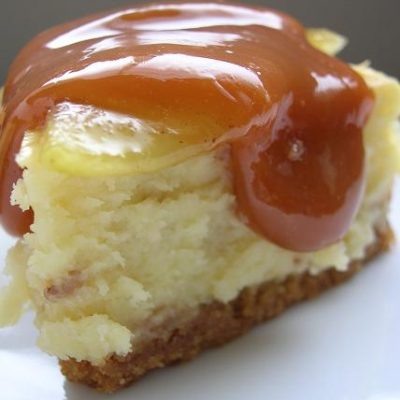
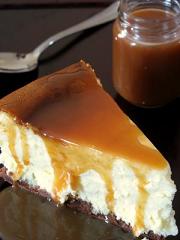
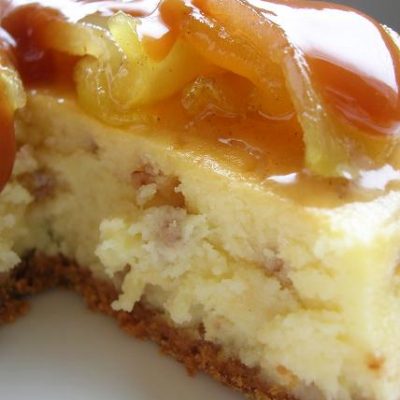
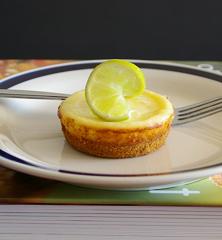
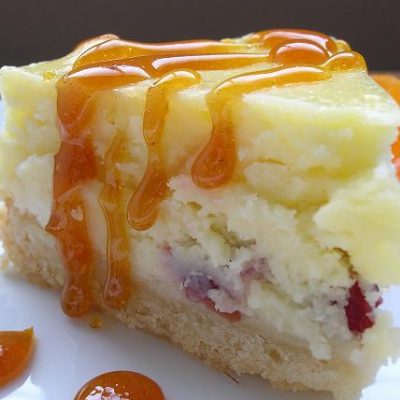
Just when you thought there was no more cheesecake…..
Don’t forget to vote…
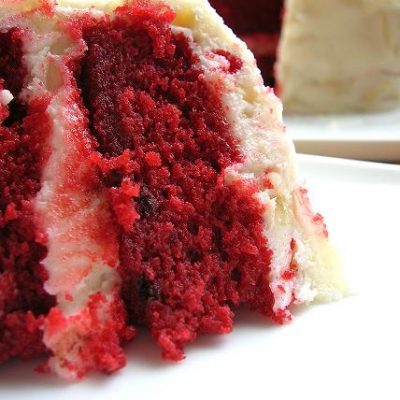
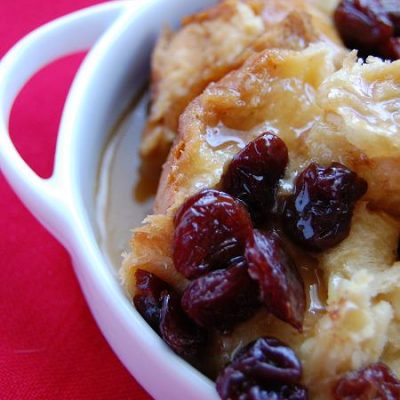
Don’t Wear White When Eating This….
HHDD #10 the round up
Yet Another Reminder….
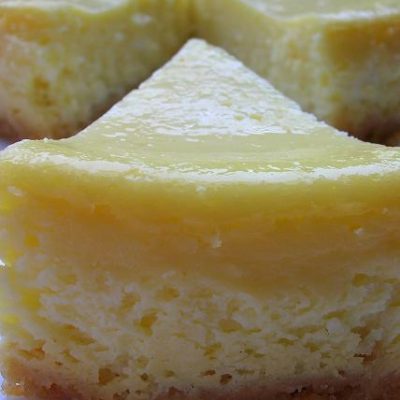
Hay, Hay…it’s Cheesecake all the way!
We Are At It Again….