

Pumpkin Oreo Cream Cheese Pie

Count Chocula Cream Pie #HalloweenTreatsWeek

Chocolate Orange Crumb Babka

Hot Fudge Sundae Hot Chocolate

Orange Cranberry White Chocolate Walnut Muffins
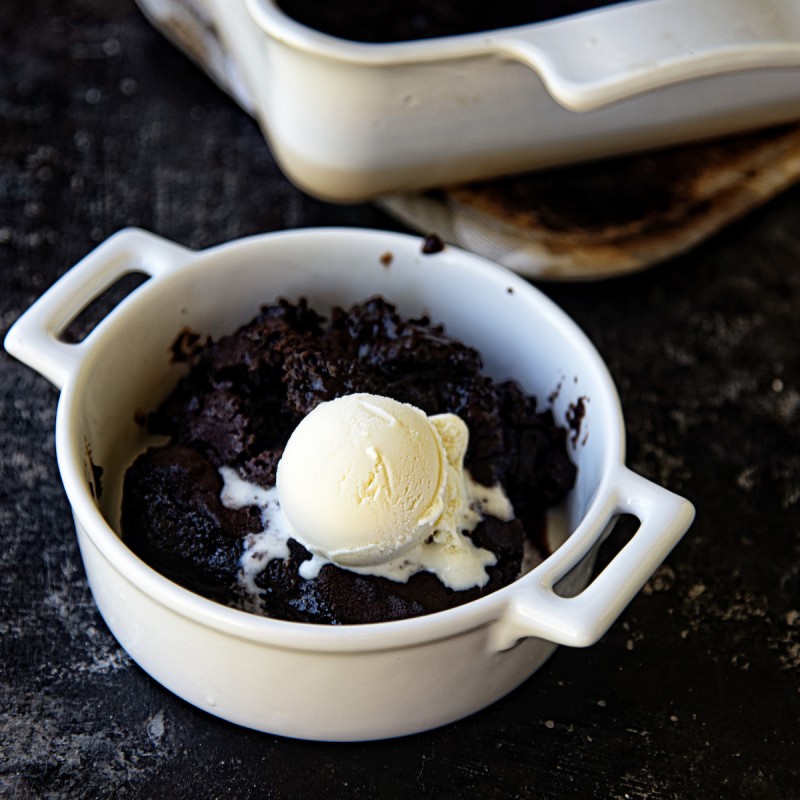
Cream Soda Brownie Pudding Cake

Trail Mix Fudge
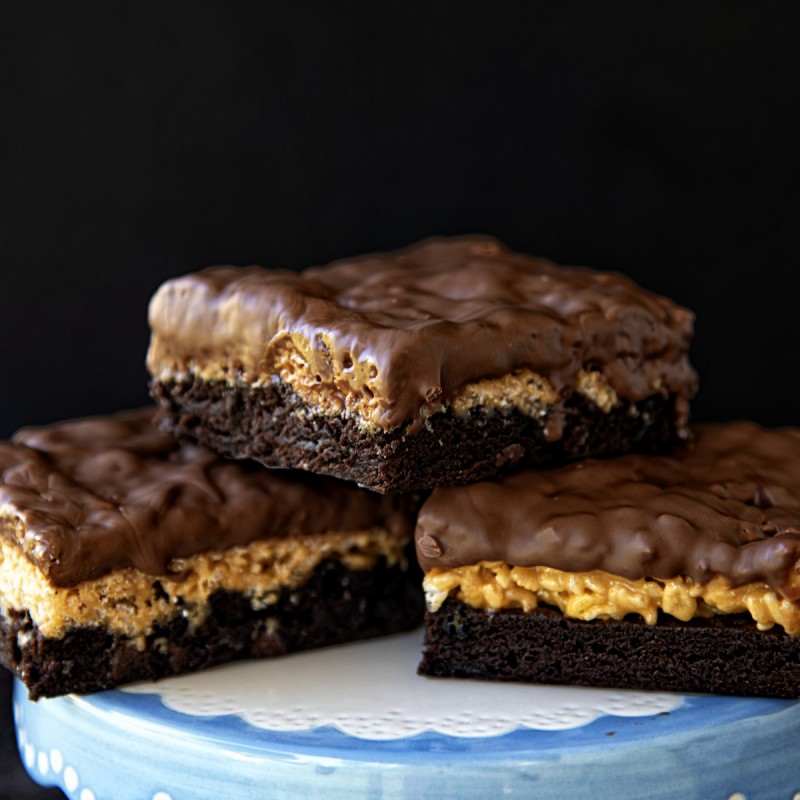
Star Crunch Brownies

S’mores Thumbprint Cookies

Melted Chocolate Ice Cream Fudge

White Chocolate Berry Linzer Cookies

Salted Chocolate Chip Butterscotch Toffee Cookie Bars

Drumstick Ice Cream Fudge

Banana Split Cheesecake Cheeseball

Mini Drumstick Ice Cream Terrine

Chocolate Root Beer Float Cupcakes

Orange Blossom Chocolate Challah Bread

Chocolate Salted Caramel Popcorn Cake

Bailey’s Salted Caramel Chocolate Bundt Cake

Chocolate Sprinkle Yeast Donuts

Peanut Butter Cup Cream Pie

Chocolate Crunch Banana Bread

Oatmeal Chocolate Chip Cookie Babka

Tangled Christmas Lights Cookies

Gingersnap White Chocolate Cracker Toffee

Peppermint Mocha Latte Cupcakes

Peppermint Mocha Latte Sweet Rolls

Yule Log Layer Cake

Eggnog Chocolate Fudge Bundt Cake
- « Previous Page
- 1
- 2
- 3
- 4
- 5
- …
- 17
- Next Page »