This may come as a surprise…
Bear with me….

The Angel Made Me Do It….

Pop Goes The World…

It’s Sunday, not Tuesday….
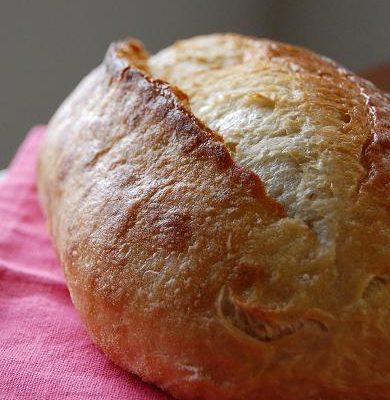
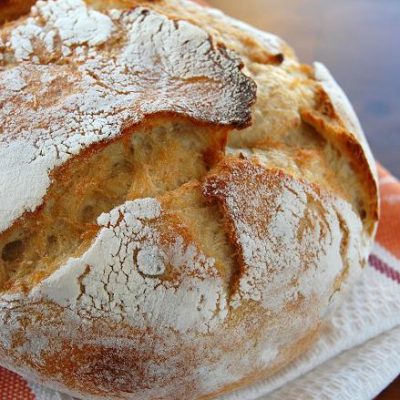
French Bread
Zest for life….

Yule love this challenge…
You say Potato, I say Daring Baker Challenge….
If your reading this….
Case of the missing bun….
“Milk” it for all it’s worth…