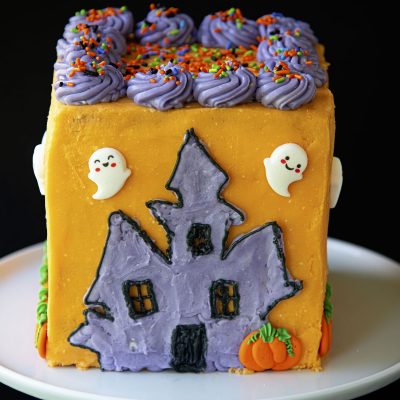
Haunted House Layer Cake #HalloweenTreatsWeek

Blackberry Caramel Thumbprint Cookies
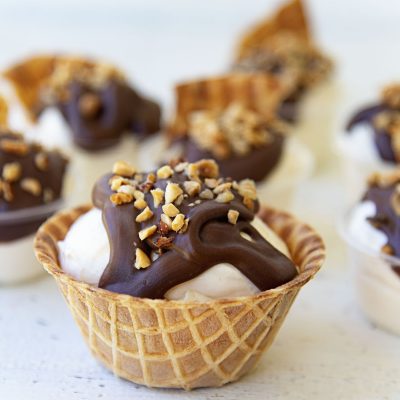
Drumstick Ice Cream Pudding Shots

Strawberry Shortcake Charlotte Russe
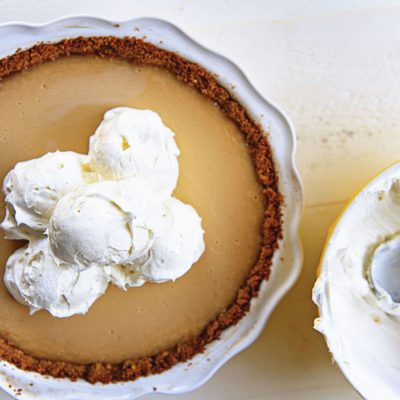
Key Lime Vanilla Ice Cream Pie
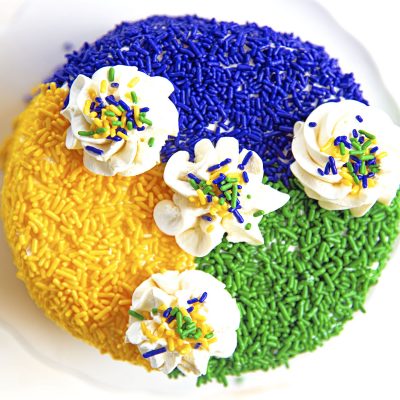
King Cake Layer Cake
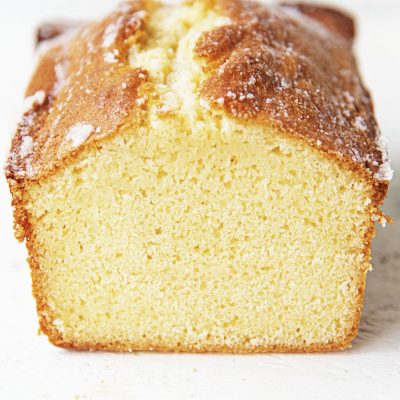
Vanilla Butter Loaf Cake

Sugar Cookie Dough Cheesecake Cups

S’mores Thumbprint Cookies

Dole Whip Pineapple Babka

Dole Whip Pineapple Fudge

Drumstick Ice Cream Fudge

Mini Drumstick Ice Cream Terrine

Vanilla Sprinkle Birthday Cupcakes

Chocolate Root Beer Float Cupcakes

Roll Out Shortbread Sugar Cookies

Fresh Plum Vanilla Bean Vodka Cocktail
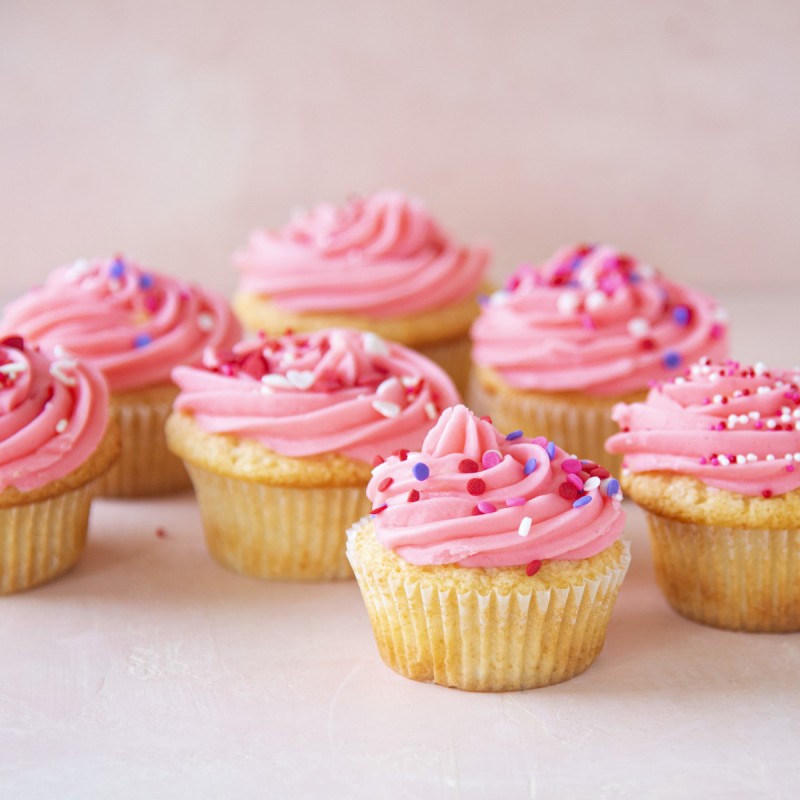
Pink Vanilla-Vanilla Cupcakes

Vanilla Mint Pinwheel Cookies

Halloween Vanilla Sprinkle Quick Bread

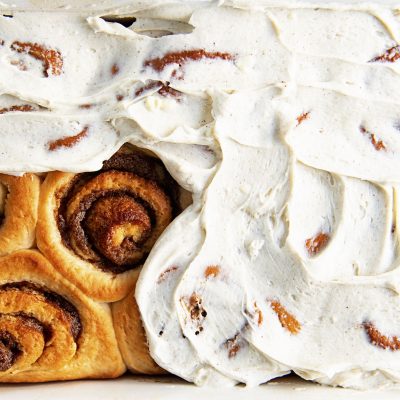
Cinnamon Roll Caramel Apple Cheesecake

Vanilla Cheesecake Funfetti Pink Ombre Layer Cake

Creamsicle Marshmallows

Vanilla Bean Caramel Thumbprint Cookies

Vanilla Chai Latte Cheesecake

You’re a Mean One

Ghetto Superstar

Making Memories
