
You Need The Fear…

Suggestions Please….
Cruel Irony….
Pinning…
Way Back Wednesdays…start thinking cookie exchange
Just around the corner…Way Back Wednesday

Way Back Wednesday…the Refund Muffin
Way Back Wednesday…back to school…

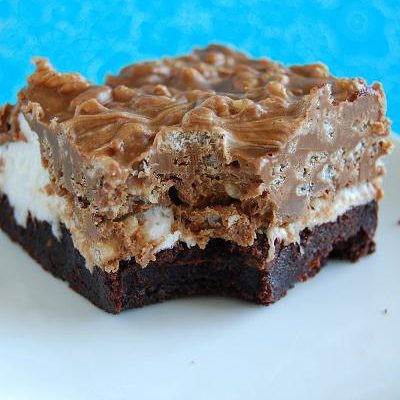
Way Back Wednesday: Chocolate Peppermint Stick Marshmallow Fantasy Cake…