Evil Treats from a Nice Person
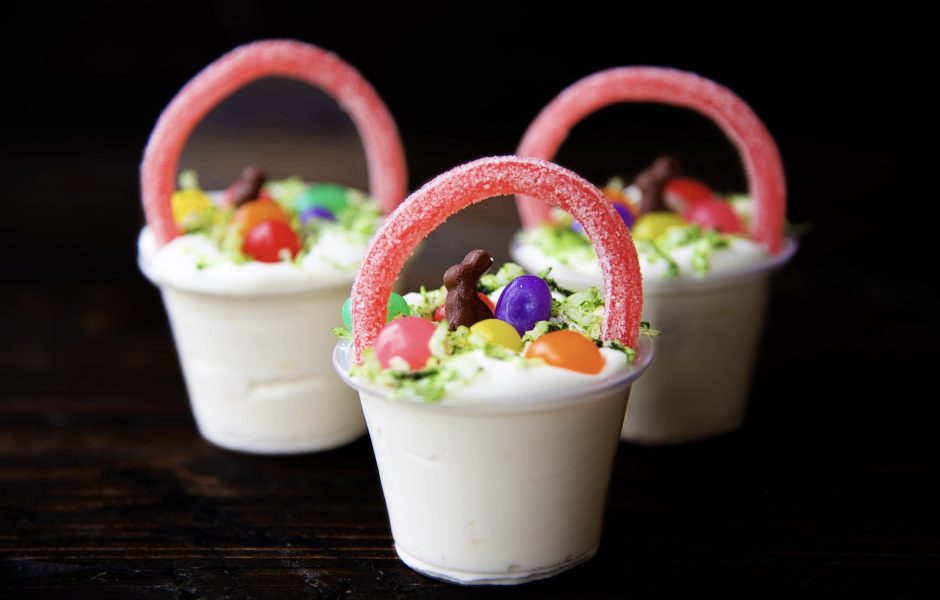
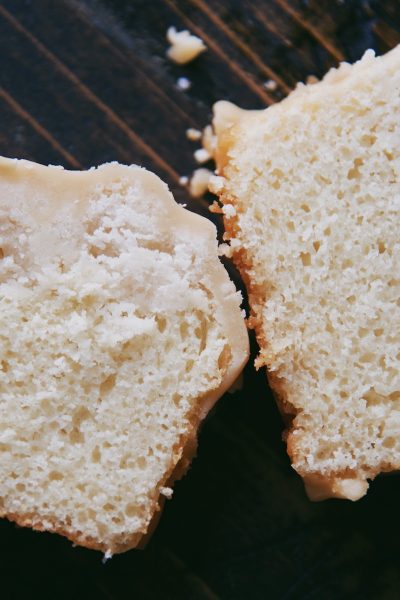
These Coconut Cake Easter Basket Pudding Shots are in honor of the coconut cake my mom made every Easter when I was a … Read more...
baked goods, cheesecake, chocolate, cookies, peanut butter
baked goods, chocolate, MINTy Fresh, pie
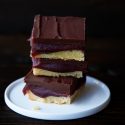
baked goods, Booze, caramel, chocolate
Treats and bonus recipes right to your inbox every Wednesday.